Making a Mini Granny Bag
Design
I was tasked with creating a small pouch or bag that must be made of some kind of flexible fabric or material, must use a sewing machine to connect and assemble the component parts of your design, and must use some sort of fastening mechanism as part of the design (velcro, drawstring, zipper, etc.).
I decided to make a small hand held “granny” bag taking inspiration from a few designs online from the creator SewCanShe: https://sewcanshe.com/free-bag-patterns/
While working on my first drafts, I adjusted several aspects of the design to fit my time constraints and resources. After making my second draft out of muslin fabric, I resolved to measure my fabric more carefully in my next iteration. To ensure that my design fit the specifications, I used an old t-shirt as my fabric material, and hand-sewed a button and corresponding loop onto the opening of the bag. The majority of the bag was made using a sewing machine, therefore meeting all of the criteria.
Although this was an assignment for a class project, I wanted to create a product that I could use in my life. As a designer who values sustainability, this reusable bag can have many purposes such as storing small objects, carrying groceries, or wrapping a gift. I aimed to design with desirability in mind, which led me to start by considering how I could create a unique shape for the body of the bag (using tucks and folds).
Sketches
I started out by researching existing bag designs and looking up patterns online before sketching out what my designs might look like.

Sketches of bag ideas.
Prototype
After sketching I made a paper prototype of the bag structure. Then I started sewing my first iteration using muslin fabric. I cut out the fabric and sewed the corner cuts, then I sewed the two sides together. Then I pinned the tucks and sewed the bag opening.

Paper prototype of bag body, paper pattern to guide cutting, and cut fabric for muslin prototype.

Left: muslin prototype in progress. Right: finished muslin prototype.
After creating my first iteration, I learned a few things going into my second iteration: measure the small strips carefully to ensure they are straight lines, maybe make the entire bag slightly bigger, and consider adding another layer of fabric inside the bag to give it a stronger structure. I began my second iteration by cutting the fabric and then sewing the tucks and folds in the fabric. Then I sewed the two halves together before sewing the loop that would act as the straps. Next I sewed the straps onto the body of the bag, finishing off with hand sewing the button onto the bag.

Second iteration in progress: machine sewing the bag body, bag straps, and hand sewing the button.

Finished second iteration: bag interior, bag with no contents, and bag clasped showing button.
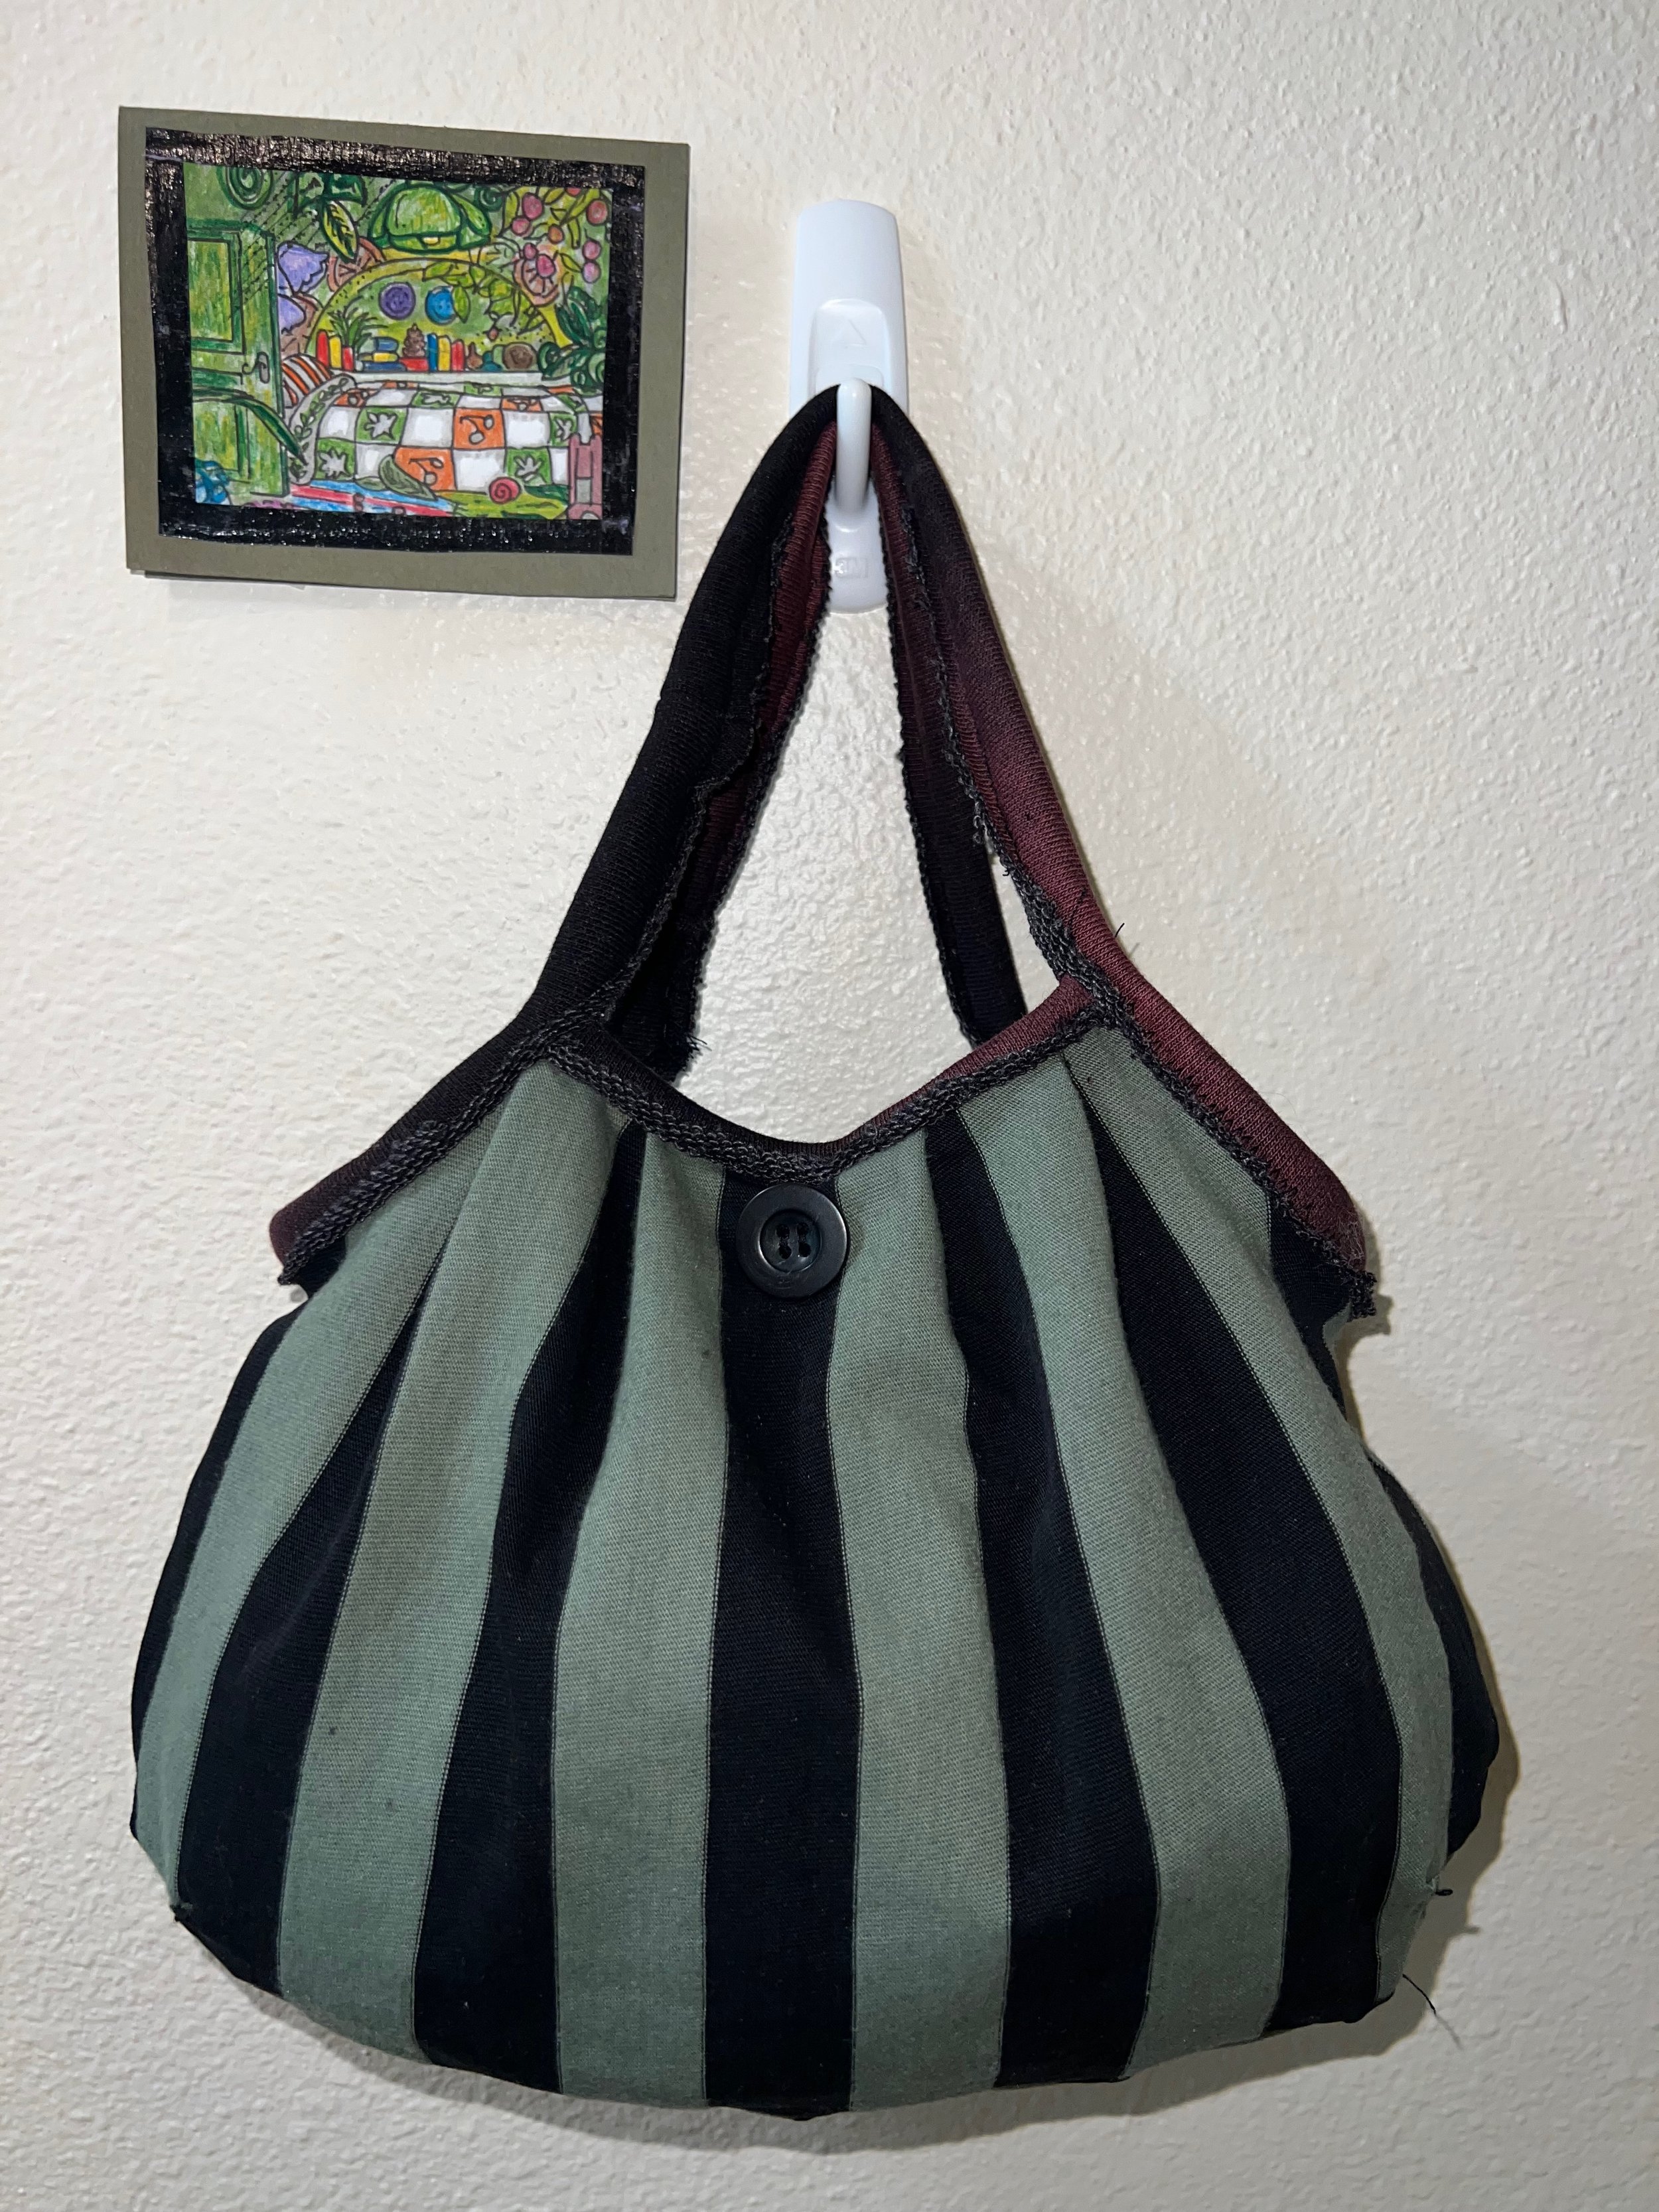
Final prototype: filled and unclasped, hanging on a wall.
Analysis
I tested my prototype with one HCDE professor, two design students, and one student outside of HCDE. This consisted of three five minute testing sessions, for a total of 15 minutes of testing. Based on this, I gathered the following insights:
Things that worked well:
There was a clear progression from my paper prototype to my second and third prototypes.
The design of the straps worked well, specifically the fact that they go all the way around the bag in a loop
The direction of the lines on the fabric was intentional and a good design choice
Things that needed improvement:
The straps of the bag looked a little rough, consider changing the fabric
Add a liner that is a thicker material to give more shape/structure (same for straps)
Sew the corner folds on the inside so you cannot see the stiches
Try a button whole to learn machine sewing
Make the straps longer
In conclusion, my prototyping process was successful to learn what techniques and patterns would be useful for my design. The form and function of my bag met the design requirements and determined that this bag would be desirable for a user. If I had more time for this project, I would complete another iteration to focus on improving the straps of the bag: making them stronger and using a different fabric. I would also add a fabric liner to the bag to ensure that it holds its form. Overall, my final bag prototype met my goals of prototyping for desirability and I received positive feedback during my critique, therefore I will not be completing another iteration of my bag for this assignment.